The Blackscreen Effect of Moegirlpedia has a long history and remarkable effects. Everyone hopes to use it in their own websites, right? This article will guide you to learn how to use the blackscreen effect in your own articles!
All code in this article comes from the Moegirlpedia.
Not an advertisement:)
Firstly, here is the CSS code for the blackscreen effect, which is stored in the website's server configuration file. This means that the effect applies to the entire website. And you don't need this code when you use this effect.
.heimu, .heimu a, a .heimu, .heimu a.new {
    background-color: #252525;
    color: #252525;
    text-shadow: none;
}
.heimu:hover, .heimu:active,
.heimu:hover .heimu, .heimu:active .heimu {
    color: white !important;
}
.heimu:hover a, a:hover .heimu,
.heimu:active a, a:active .heimu {
    color: lightblue !important;
}
.heimu:hover .new, .heimu .new:hover, .new:hover .heimu,
.heimu:active .new, .heimu .new:active, .new:active .heimu {
    color: #BA0000 !important;
}
Operation Steps:
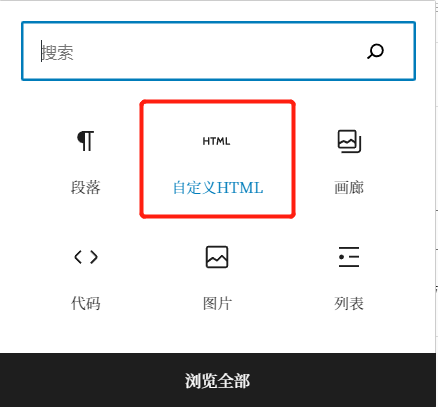
- Select the new block 'Custom HTML'

2. Paste the following line of code into the input box and modify the specific content
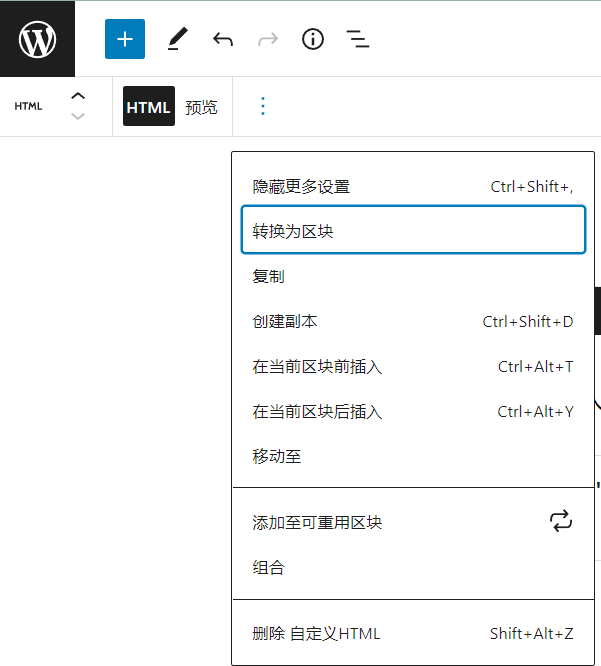
<span class="heimu" title="You know too much(Free to change)">Anything you want(Free to change)</span>3. Click on "Options" in the upper right corner=>"Convert to Block"=>complete!

4. After the blackscreen is completed, you can make changes to the font size or position (you can also adjust it first)
Example:
<span class="heimu" title="It seems I guessed right">I guess you'll put the cursor on it</span>I guess you'll put the cursor on it
Try holding the cursor over the blackscreen, and you will see the text prompt you have preset displayed (the text prompt is already available during editing).
Of course, this article is just a very basic tutorial. Do I hope that everyone can learn about markdown, HTML and CSS at a deeper level to make our website more outstanding, or more flashy:).


Comments NOTHING